Chat

Showing posts with label 4th of July. Show all posts

Friday, June 26, 2026

America the Beautiful - FTU

 Scrap kit - America by Shelly - HERE

Mask - Your choice

Template - EFR Blog - HERE

Tube - Cano - HERE

***Disclaimer***

This tutorial is of my own creation. I am using PSP2019. Please leave a thanks when downloading.  If I am using a template, I always start at the bottom and work my way up. If using a FTU or PTU tube - please don't use without proper copyright. Always drop shadow as you go. If you try one of my tuts, I would love to display it on my blog....thanks

~~~~~~~~~~~~~~~~~~~~~~~~

Open template and delete copyright layer

Image/canvas size/800x800

P120 - apply mask/merge group/arrange/send to bottom

2 - p121

3 & 5 - add a gradient glow

4 - p124

Add same gradient glow

6 - p116

Add same gradient glow

Brush - p111

Duplicate a few times to make it a little darker 

E92

E97

E104

E84 - resize 40%

Position tube

E91 - resize 70%

E87 - resize 50%

Add gradient glow

E38 - resize 40%

Image/free rotate/left by 20

E28 - resize 35%

Image/free rotate/right by 20

E73 - resize 40%

E71 - resize 40%/mirror

E72 - resize 35%/flip vertical

E75 - resize 25%

E76 - resize 25%/mirror

E21 - resize 25%

Merge visible/crop/resize as needed/add proper copyright

Tuesday, June 23, 2026

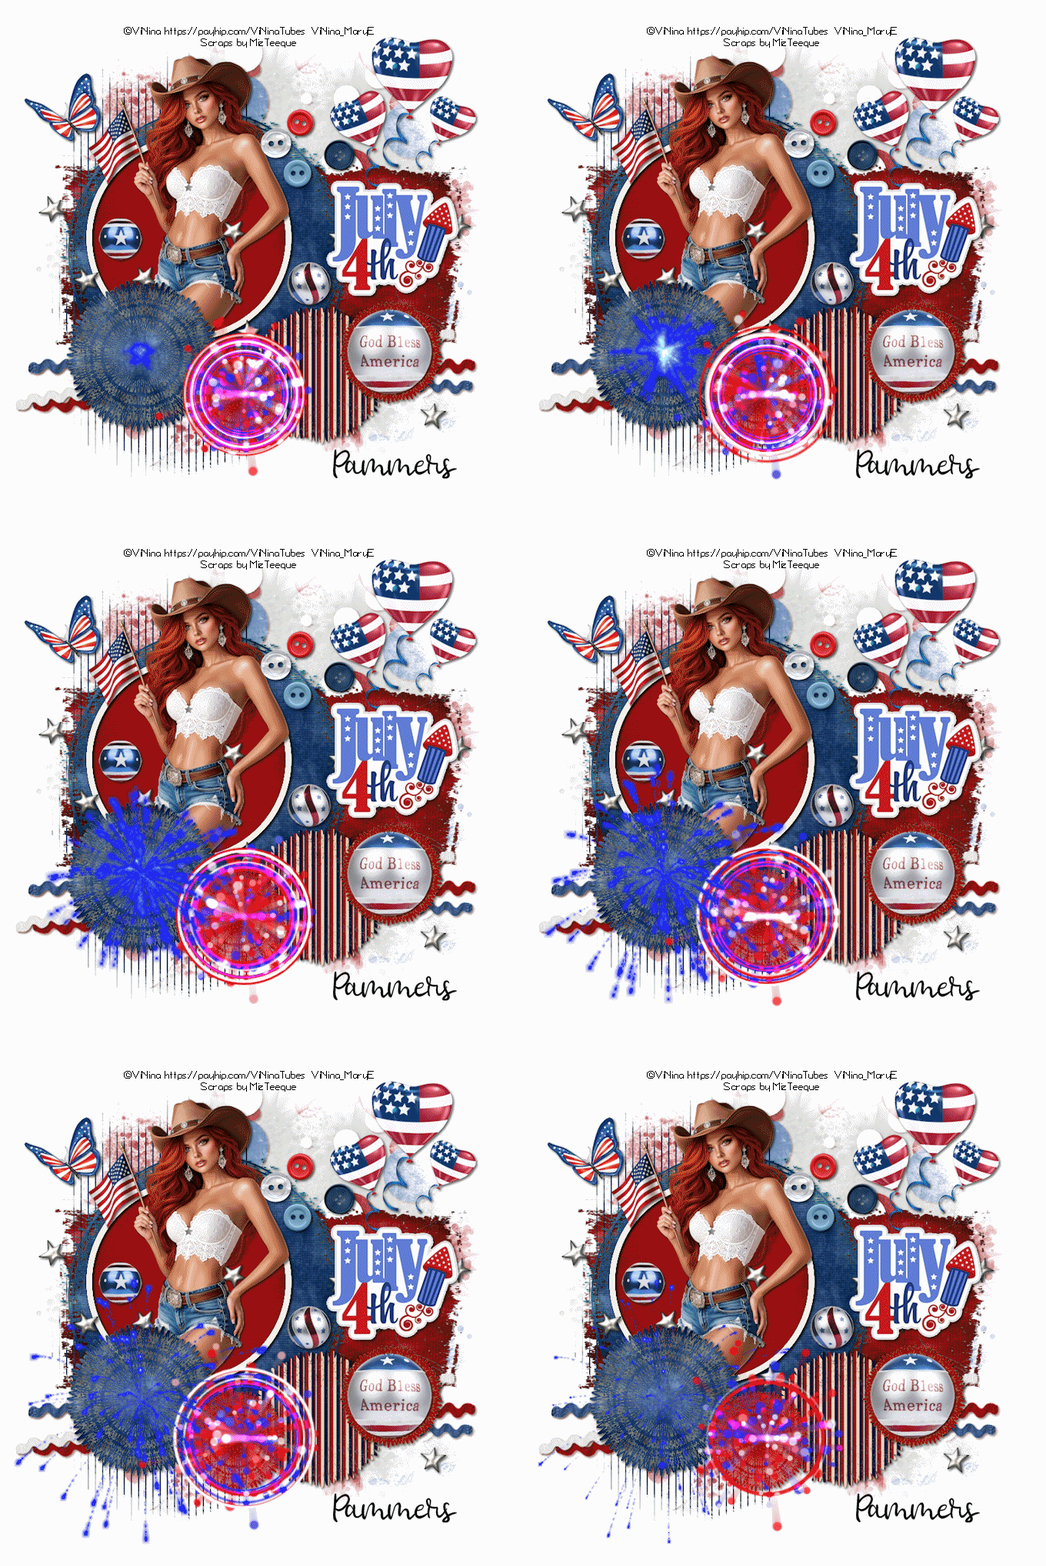
Sparkle 4th - FTU

Scrap kit - DC's 4th of July - HERE

Mask - Your choice

Template - BKC's - HERE

Tube - Pinuptoons

***Disclaimer***

This tutorial is of my own creation. I am using PSP2019. Please leave a thanks when downloading.  If I am using a template, I always start at the bottom and work my way up. If using a FTU or PTU tube - please don't use without proper copyright. Always drop shadow as you go. If you try one of my tuts, I would love to display it on my blog....thanks

~~~~~~~~~~~~~~~~~~~~~~~~

Open template and delete copyright layer

Image/canvas size/800x800

Flood fill bottom layer if animating

P11 - apply mask/merge group

Black layers - flood fill 

Middle pink - p4

Left & right pink - p20

E100

E99

Left & right pink circle - p9

E45 - resize 50

E46 - resize 40%

E47 - resize 30%

Merge these 3 together and duplicate 2x

Alien xenofex/constellation/5,25,15,15,100,50 angle 45/keep original image

Hide layer/click next layer/constellation/hit random seed and repeat for last layer

E16 - resize 45%

E22 - resize 50%

Position tube

E102 - resize 30%

E81

E35 - resize 35%

Image/free rotate/left by 20 and add gradient glow

E86 - resize 90%

E24 - resize 35%

E103 - resize 35%

E94 - resize 35%

E92 - resize 30%

E13 - resize 40%

E14 - resize 30%

E101 - resize 35%

If you are not animating

Merge visible/crop/resize as needed/add proper copyright 

If animating, add your copyright

Open AS

PSP - copy merged

AS - paste as new animation

PSP - x out that layer/open the next one

PSP - copy merged

AS - paste after current frame

PSP - x out that layer/open the next one

PSP - copy merged

AS - paste after current frame

View animation

Save

Pauline


Monday, June 1, 2026

Stars&Stripes - FTU

 Scrap kit - Stars & Stripes - HERE

Mask - Your choice

Template - HERE

Tube - Prihodko - HERE

Animation - HERE

***Disclaimer***

This tutorial is of my own creation. I am using PSP2019. Please leave a thanks when downloading.  If I am using a template, I always start at the bottom and work my way up. If using a FTU or PTU tube - please don't use without proper copyright. Always drop shadow as you go. If you try one of my tuts, I would love to display it on my blog....thanks

~~~~~~~~~~~~~~~~~~~~~~~~

Open template and delete copyright layer 

Image/canvas size/800x800

Flood fill white layer

P6 - apply mask/merge group

Rectangle - p9

Stripes - p8

Bg circle - p8

Frame fill - p4

Position tube

Round images - new raster layer/flood fill/hide original layer

E17 - resize 50%

E46

E18 - resize 40%

E44

E66 - resize 30%

E24 - resize 40%

E23 - resize 20%

E25 - resize 20%

E45 - resize 30%

Merge visible/crop/resize as needed/add proper copyright

TO ANIMATE:

Open AS

Open MNG #473

CtrlA to select all

Copy image from PSP

Paste as new animation

CtrlL 15 times (total of 16)

CtrlA to select all

Drag your animation into position on PSP image

Save

Mary


Monday, May 25, 2026

American Girl - FTU (Animated)

Scrap kit - American Girl by Simone - HERE

Template - #57 - HERE (bundle 51-60)

Tube - A. Prihodko - HERE

Animation by me - HERE or HERE

***Disclaimer***

This tutorial is of my own creation. I am using PSP2019. Please leave a thanks when downloading.  If I am using a template, I always start at the bottom and work my way up. If using a FTU or PTU tube - please don't use without proper copyright. Always drop shadow as you go. If you try one of my tuts, I would love to display it on my blog....thanks

~~~~~~~~~~~~~~~~~~~~~~~~

Open template and delete copyright layer and flood fill bottom with white if animating

Image/canvas size/800x800

E70 - resize 120%

Dot set 2 - p4

Large dark circle - flood fill

Add noise of choice

Large light circle - flood fill

Texture of choice

Dot set 1 - flood fill

Dark rectangle - flood fill

Add noise

Light rectangle - flood fill

E29 - resize 60%

Small dark circle - flood fill

Add noise

small light circle - flood fill

Position tube

E34

E24 - resize 70%

E5 - resize 50%

Duplicate/mirror

E4 - resize 30%

E10 - erase string - resize 30% 

E13 - resize 45%

E30 - resize 35%

If you are not going to use animation....you are done

Merge visible/crop/resize as needed/add proper copyright

Open Animation Shop

PSP - copy

AS - paste as new layer

Ctrl L 2 times

Ctrl A once to select all

Open mng - CtrlA to select all

Animation tab/resize animation/percentage of original/width 150

Click U and drag into position

Check animation

If you want it slower (I slowed mine down)

Animation tab/frame properties/120

Save

Anne


Saturday, June 28, 2025

Kinda July 4th masks

3 masks kinda 4th of July themed....would love to see your creations....thanks!!


Tuesday, June 17, 2025

The Fourth - FTU

Scrap kit - Fourth of July - HERE

Mask - EFR Blog - HERE (2nd one)

Template - #56 - HERE

Tube - Alex Prihodka - HERE

***Disclaimer***

This tutorial is of my own creation. I am using PSP2019. Please leave a thanks when downloading.  If I am using a template, I always start at the bottom and work my way up. If using a FTU or PTU tube - please don't use without proper copyright. Always drop shadow as you go. If you try one of my tuts, I would love to display it on my blog....thanks

~~~~~~~~~~~~~~~~~~~~~~~~

Open template and delete copyright layer

Image/canvas size/800x800

P3 - apply mask/merge group/send to bottom

Circle large - p8

Circle small - p4

Adjust/blur/gaussian at 4

Rectangle grey - p3

Burst

Scatter

Star2

Swirl

Tree

Half circle - p9

Half circle frame - add noise of choice

Position tube

Chain

Flower3 - resize 60%

Flower4 - resize 35%

Stamp2 - resize 40%

Image/free rotate right by 20

Splatter - resize 70%

Flower1 - resize 60%

Bird - resize 35%

Flower2 - resize 50%

Balloon2 - resize 45%

Butterfly - resize 50%

Merge visible/crop/resize as needed/add proper copyright 
Sandy

Karen
Gigi
June


Thursday, June 5, 2025

Yankee - FTU

 Scrap kit - Yankee - HERE

Mask - Your choice

Template - #167 - HERE

Tube - Elias Chatzoudis - HERE

***Disclaimer***

This tutorial is of my own creation. I am using PSP2019. Please leave a thanks when downloading.  If I am using a template, I always start at the bottom and work my way up. If using a FTU or PTU tube - please don't use without proper copyright. Always drop shadow as you go. If you try one of my tuts, I would love to display it on my blog....thanks

~~~~~~~~~~~~~~~~~~~~~~~~

Open template and delete copyright layer

Image/canvas size/800x800

P10 - apply mask/merge group/send to bottom

E29 - resize 110%

E14

E30

Raster2 - p6

Raster2 copy - p7

E26 (animate)

Position tube

Click top layer

E25

E16 - resize 50%

Image/free rotate/left by 20

E17 - resize 50%

E4

E20 - resize 40%

Image/free rotate/right by 20

E18 - resize 35%

Image/mirror/rotate

E22 - resize 30%

E28 - resize 60%

(If you aren't going to animate)

Merge visible/crop/resize as needed/add proper copyright

ANIMATION

Crop and add copyright

Animate layer -  Xenofex/constellation with the following:

PSP - Copy merged

AS - paste as new animation

*PSP - undo

Constellation - hit random seed

Copy merged

AS - paste after current frame*

Do from * to * again or as many times as you like

Save as 

Mary


Monday, July 1, 2024

America the Beautiful - FTU


Scrapkit - DBS America - HERE

Mask - Your choice

Template - Rachels's - HERE #114

Tube - Creative Fabrica - HERE

***Disclaimer***

This tutorial is of my own creation. I am using PSP2019. Please leave a thanks when downloading.  If I am using a template, I always start at the bottom and work my way up. If using a FTU or PTU tube - please don't use without proper copyright. Always drop shadow as you go. If you try one of my tuts, I would love to display it on my blog....thanks

~~~~~~~~~~~~~~~~~~~~~~~~

Open template and delete copyright layer, 1-4, white background

Resize template by 77%

P111 - apply mask/merge group/send to bottom

E86

E92 - resize 140%

5 - p122

6&7 - p115

8 - p126

E91

E85

E87 - resize 50%

E92

E55 - resize 50%

Duplicate/mirror

E57 - resize 50%

E99

E28 - resize 30%

E63 - resize 20%

E64 - resize 20%

E21 - resize 35%

E95 - resize 35%

E96 - resize 35%

Image/free rotate/right by 20

E81 - resize 30%

E73 - resize 30%

E72 - resize 30%

Merge visible/crop/resize as needed/add proper copyright

Tuesday, June 20, 2023

4th of July - FTU

Scrapkit - Courtesy of the RWB by Jen - HERE (it's the first image)

Mask - CM - HERE (Aqua #70)

Template - Millie - HERE

Tube - Pinuptoons - HERE

***Disclaimer***

This tutorial is of my own creation. I am using PSP2019. Please leave a thanks when downloading.  If I am using a template, I always start at the bottom and work my way up. If using a FTU or PTU tube - please don't use without proper copyright. Always drop shadow as you go. If you try one of my tuts, I would love to display it on my blog....thanks

~~~~~~~~~~~~~~~~~~~~~~~~

Open template and delete copyright layer

Image/canvas size/800x800

P6 - apply mask/merge group/send to bottom

1 - p3

Add a gradient glow if desired

3 - add noise

4 - p8

5 - p5

6 - add noise

7 - p2

8,9,10 - flood fill/add noise

Grab your magic wand and click inside 10/expand by 2/new raster layer/flood fill with color or gradient of choice/drag below/layer properties to multiply

Add tube of choice/layer properties to screen

Do the same for 8 & 9

Explosion2

Star1 - resize 80%

Star2 - resize 60%

Fireworks4

Position tube

Eagle

Bow1 - resize 30% - position

Duplicate/mirror/and position

Fireworks5 - resize 60%

Merge visible/crop/resize as needed/add proper copyright 

Rachey


Monday, June 12, 2023

USA ROCK - FTU (Quick)

 Scrapkit - Stars and Stripes by MizT - HERE

Mask - 2nd one down - HERE

Template - Punky #121 - HERE

Cluster from ATP blog  - HERE (6th one down)

Tube - Cano - HERE

***Disclaimer***

This tutorial is of my own creation. I am using PSP2019. Please leave a thanks when downloading.  If I am using a template, I always start at the bottom and work my way up. If using a FTU or PTU tube - please don't use without proper copyright. Always drop shadow as you go. If you try one of my tuts, I would love to display it on my blog....thanks

~~~~~~~~~~~~~~~~~~~~~~~~

Open template and delete copyright layer

Image/canvas size/800x800

p6 - apply mask/merge group/send to bottom

I duplicated mine to make it a little darker

Left square - p1

Left glitz frame - flood fill blue

Left red square - add noise of choice

Right square - p2

Do the same as the left square

E35 - resize 20

Mura meister/copies/encircle/16,45,45

duplicate/mirror and position

Left blue circle - p9

Do the same as left and right square

Right blue circle - p8

Do the same as above

Click top layer and position cluster

Grab magic wand and click inside cluster/modify/expand by 4/paper/invert/delete/select none

Move paper below cluster

Merge the star layers together and flood fill with color of choice/add noise of choice

Position your tube

E18 - resize 40%

E44 - resize 60%

E66 - resize 40%

E69 - resize 30%

Merge visible/crop/resize as needed/add proper copyright

Bobbie

Rachey
Sandy


Saturday, June 10, 2023

July 4th - ATP Exclusive

 Scrapkit - DBS 4th July - ATP Exclusive - HERE

Mask - supplied in kit

Template - Denz #214 - HERE

Tube - Elias - HERE

***Disclaimer***

This tutorial is of my own creation. I am using PSP2019. Please leave a thanks when downloading.  If I am using a template, I always start at the bottom and work my way up. If using a FTU or PTU tube - please don't use without proper copyright. Always drop shadow as you go. If you try one of my tuts, I would love to display it on my blog....thanks

~~~~~~~~~~~~~~~~~~~~~~~~

Open template and delete copyright layer, white square, and top blue circle

Image/canvas size/800x800

Open mask 3 - resize 120%

Arrange/send to bottom and duplicate

2 sm blue circles - p16

Left rectangle - p29

Right rectangle - p37

Purple circle - p19

Word art - p34

Merge word art layers together and add a glass effect

Black strip - p31

White strip - p30

Scatter7

Blue circle - p11

Small black rectangle - p6

Firework18

Purple rectangle - p28

Balloons2 - resize 45%

Flowers1 - resize 10%

Scatter3 - resize 60^

Word art3 - resize 30% and add a gradient glow

Fireworks11 - resize 60%

Ribbons 2&3

Flower6 - resize 35%

On flower6 - image/canvas size/700x700

Mura meister/copies/line rotate/top number is 5

Paste onto canvas

Rocket5 - resize 50%

Flower25 - resize 35%

Bear4 - resize 30%

Gems - resize 40%

Shoes - resize 40%

Balloons5 - resize 30%

Cup of candy - resize 30% and position down a few layers

Position tube where desired

Word art5

Merge visible/crop/resize as needed/add proper copyright

Tuesday, May 30, 2023

Patriotic Woman - FTU

Scrapkit - DCD American Woman - HERE

Mask - 2nd one - HERE

Template - Miggins - 2nd one - HERE

Tube - Garvey - HERE

***Disclaimer***

This tutorial is of my own creation. I am using PSP2019. Please leave a thanks when downloading.  If I am using a template, I always start at the bottom and work my way up. If using a FTU or PTU tube - please don't use without proper copyright. Always drop shadow as you go. If you try one of my tuts, I would love to display it on my blog....thanks

*** This is a full size kit. I used a resizer...it is free and easy to use - HERE ....the resize value may be different for you, depending on what percentage you change***

~~~~~~~~~~~~~~~~~~~~~~~~

Open template and delete copyright layer, word art, and layers 8-13

Image/canvas size/800x800

P27 - apply mask/merge group/send to bottom (you will have to invert)

Fireworks4

Duplicate/mirror/merge together

Duplicate/flip

Flower7 - resize 35%

Mura mesiter/copies/encircle/

Layer2 - inner bevel

Layer3&4 - suede4

Selections all/float/modify/expand by 4/new raster layer/flood fill color of choice/drag below

Confetti - resize 60%

Layer5 - glitter3

Frame1 - resize 50%

Layer6 - American flag

Ribbon1 - resize 50%/image/free rotate by 90

Open frame10 - resize 50%

Grab magic wand and click inside each star/expand by 2/invert

P18/delete/select none and drag down one layer

Add tube of choice

Resize 65%/crop

Copy merged and position, adding a small gradient glow

Firecracker line - resize 40%

Patriotic glove - resize 15%

Butterfly - resize 20%

Image/free rotate/right by 20

Patriotic heart - resize 20%

Merge visible/crop/resize as needed/add proper copyright

Saturday, May 20, 2023

Independence Day - PTU

Scrapkit - This is America by MBM - HERE

Mask - your choice

Template - by me made exc for EFR blog - HERE

Tube - Garvey - HERE

***Disclaimer***

This tutorial is of my own creation. I am using PSP2019. Please leave a thanks when downloading.  If I am using a template, I always start at the bottom and work my way up. If using a FTU or PTU tube - please don't use without proper copyright. Always drop shadow as you go. If you try one of my tuts, I would love to display it on my blog....thanks

~~~~~~~~~~~~~~~~~~~~~~~~

Open template 

Image/canvas size/800x800

P10 - apply mask/merge group

Big circle frame - p7

Adjust/add noise of choice

Big circle - p14

Frame5 - resize 85%

1 - p5

2 - p2

E117

Star - p11

Selections/all/float/modify/expand by 5/new raster layer/flood fill with blue of choice

Move below star

Add noise

Merge 3-5 together - p17 resized 60%

E152

E121

E115

Position tube

E16 - resize 40%

Duplicate/mirror

E24 - resize 60%

Duplicate/mirror

E30 - resize 45%

E148 - resize 60%

E122

E50

E146 - resize 60%

E26 - resize 40% and free rotate right by 20

E8

E39

E143 - resize 30%

Position/free rotate/right by 20

Duplicate/mirror

Merge visible/crop/resize as needed/add proper copyright 

Kimberly


Sunday, April 30, 2023

America - Exclusive to EFR

Scrapkit - USA by Persia Designs - HERE 

Cluster by Me - HERE

Mask - HERE (use first mask)

Tube - ChibiAi - HERE (on sale for 50 cents currently)

**She does not want @ used on her images"

***Disclaimer***

This tutorial is of my own creation. I am using PSP2019. Please leave a thanks when downloading.  If I am using a template, I always start at the bottom and work my way up. If using a FTU or PTU tube - please don't use without proper copyright. Always drop shadow as you go. If you try one of my tuts, I would love to display it on my blog....thanks

~~~~~~~~~~~~~~~~~~~~~~~~~~~~~~~~~~

Open cluster and resize 85%

**Papers will need to be resized to your liking - I did mine at 70%**

Image/canvas size/800x800

Open p3 - apply mask/merge group

Send to bottom

Click on cluster

Grab freehand selection tool and draw around frame/p25/invert/delete/select none and drag below frame

Position tube

Scarf1 - resize 25%

Hearts5 - resize 25%

Ribbon4 - resize 25%

Star3 - resize 20%

Shoes2 - resize 25%

Pin3 - resize 25%

Hand1 - resize 20%

Flower13 - erase stem - resize 20%

Flower14 - resize 20%

Merge visible/crop/resize as needed/add proper copyright

Kimberly


Wednesday, June 22, 2022

Stars - FTU - animated


 Scrapkit - Tasha's "Beach Bash USA" - HERE

Template - Temp #2 - HERE

Mask - #2 from sylvie - HERE

Plug in - VM Natural - Sparkle - HERE

Tube - PUT - HERE

***Disclaimer***

This tutorial is of my own creation. I am using PSP2019. Please leave a thanks when downloading.  If I am using a template, I always start at the bottom and work my way up. If using a FTU or PTU tube - please don't use without proper copyright. Always drop shadow as you go. If you try one of my tuts, I would love to display it on my blog....thanks

~~~~~~~~~~~~~~~~~~~~~~~~

Open template and delete copyright layer and bottom 2 circles

Image/canvas size 800x800

Flood fill background white (for animation)

P2 - apply mask/merge group

Stars

Raster9 - p8

Sparkles1

Raster3 - p4

Raster6 & 7 - flood fill white

Raster2 - p2

Adjust/blur/gaussian at 20

Duplicate 2 x's (total of 3)

2nd duplicate apply your plug in

Effects - VM Natural - sparkle/max size - 13

Close that layer out, and on next duplicate, change the random seed

Close that layer out and on last layer - hit random again

Raster10 - flood fill your choice

Adjust/add noise at 100

Raster4 - p3

Fireworks1

Glove

Branch - resize 85%

Duplicate/mirror

Raster5 - flood fill white

Doodle - place left/duplicate/mirror

Bottlecap2

Hot air balloon

Stars2

Position tube

If you are not going to animate/crop/merge visible/resize/add proper copyright

ANIMATION

Crop your tag and resize as needed/add proper copyright

Open AS

Click image/copy merged

In AS - paste as new animation

In PSP - close out layer/open next layer/copy merged

In AS - paste after current frame

In PSP - close out this layer/open last layer/copy merged

In AS paste after current frame

View animation/if happy save

Lavada

Sandy

Rosey
KITT

Pamela


Friday, June 17, 2022

USA Pride - FTU


Scrapkit - USA2010 by Tamie - HERE

Cluster - by me - HERE

Tube - Lysisange - HERE

***Disclaimer***

This tutorial is of my own creation. I am using PSP2019. Please leave a thanks when downloading.  If I am using a template, I always start at the bottom and work my way up. If using a FTU or PTU tube - please don't use without proper copyright. Always drop shadow as you go. If you try one of my tuts, I would love to display it on my blog....thanks

~~~~~~~~~~~~~~~~~~~~~~~~

Open cluster

Take your freehand selection tool/freehand and trace around rectangle of cluster/invert/p12/delete and drag below rectangle

Grab your magic wand and click inside circle/expand by 1/p2/invert/delete

Position tube

Glitter - resize 110%/move below cluster

Fireworks - resize 45%

Add noise if you want

Bow3

Chain - resize 70%

Cap - resize 60%

Image/free rotate/left/20

Fluffy Hearts

Star - resize 55%

Image/free rotate/right/20

Wire - resize 120% and send to bottom

Merge visible/crop/resize as needed/add proper copyright

Wally

Marty
Kimberly


4th of July cluster - FTU

Tamie with Addictive Pleasures has some PTU now FTU - HERE

I used USA 2010

Another cluster...just right click and save.....would like to see what you create....thanks


Tag I wrote a tut for


Tuesday, June 14, 2022

USA - PTU


Scrapkit - Backyard Picnic by AWS - HERE

Template - #4 by MizT - HERE

Mask - Your choice

Tube - Pinuptoons - HERE

***Disclaimer***

This tutorial is of my own creation. I am using PSP2019. Please leave a thanks when downloading.  If I am using a template, I always start at the bottom and work my way up. If using a FTU or PTU tube - please don't use without proper copyright. Always drop shadow as you go. If you try one of my tuts, I would love to display it on my blog....thanks

~~~~~~~~~~~~~~~~~~~~~~~~

Open template and delete copyright layer

Image/canvas size 800x800

P8 - apply mask/merge group and send to bottom

Doodle - p3

Add an inner bevel

Dots - flood fill white/inner bevel

Rectangle back - flood fill with white 

Add an inner bevel

Rectangles - US Flag - resize 105%

Large square back - add an inner bevel

Large square - p7

Party balloons2 - resize 70%

Fireworks4

Fireworks6

Fireworks2

Tube

Flower buds5

Small square background/white/inner bevel

Small square - paper of choice

BBQ grill2 - resize 50%

Cooler - resize 35%

Condiments - resize 30%

Hotdogs - resize 30%

Flower bud2, 6,7 - resize 30%

Merge visible/crop/resize as needed/add proper copyright

Saturday, June 26, 2021

Stars n Stripes - FTU


 Scrapkit - Stars and Stripes - HERE

Template -  HPD - HERE (227)

Mask - 1st mask - HERE

Tube - Zlata_M - HERE

~~~~~~~~~~~~~~~~~~~~~~~~~~~~~~~~~~~

***Disclaimer***

This tutorial is of my own creation. I am using PSP2019. If I am using a template, I always start at the bottom and work my way up. If using a FTU or PTU tube - please don't use without proper copyright. Always drop shadow as you go. If you try one of my tuts, I would love to display it on my blog....thanks

Open template, delete copyright layer

Image/canvas size/800x800

P5 - apply mask/merge group

Duplicate

Layers 1&2 together - p3

E45 - resize 45%

Duplicate and position

Layer5 - p9

Layer6 - p12

Layer7 - p4

Layer8 - p6

Layers9-11 - Merge together/flood fill color of choice

Adjust/add noise of choice

E27 - resize 25%

Image/free rotate/right by 20

E44

Layers 12&13 - merge together/flood fill color of choice

Adjust/add noise of choice

E18 - resize 45%

E34 - resize 50%

E35 -resize 60%

E69 - resize 30%

E66 - resize 25%

Position tube

Merge visible/crop/resize as needed/add proper copyright


Rosey

KITT
Annie
Kelli
Pamela